Use a laptop as a 2nd display on Linux using FreeRDP
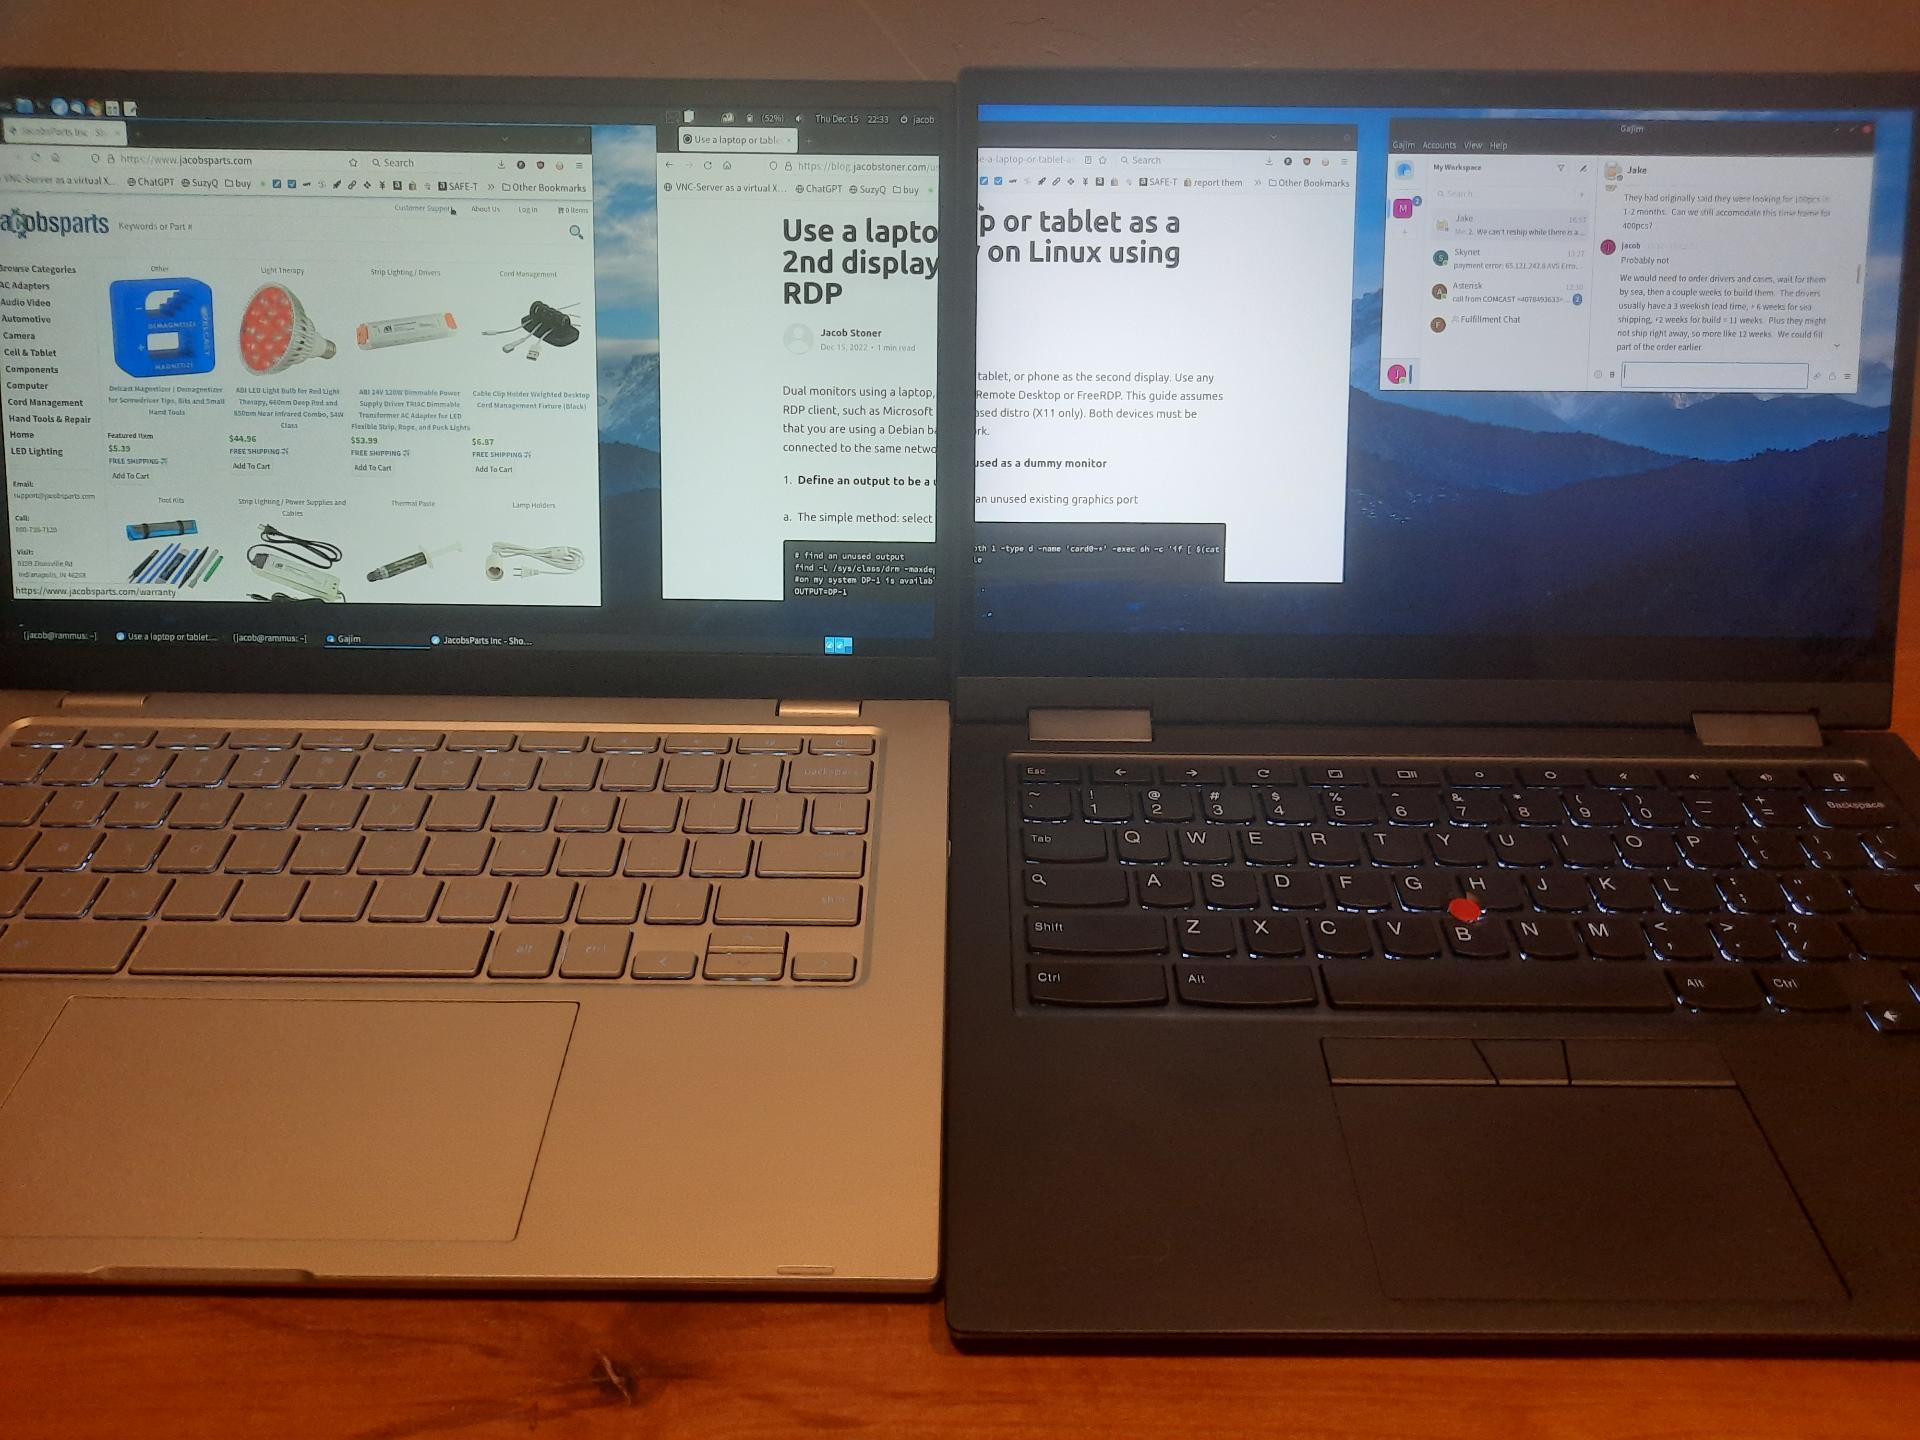
Dual monitors using a laptop as a second display. This guide assumes that you are using a Debian based distro (X11 only). Both devices must be connected to the same network.
1. Define an output to be a used as a dummy monitor
a. The simple method: select an unused existing graphics port
# find an unused output
find -L /sys/class/drm -maxdepth 1 -type d -name 'card0-*' -exec sh -c 'if [ $(cat $0/status) = "disconnected" ]; then echo $0; fi' {} \;|cut -c22-|sort
#on my system DP-1 is available
OUTPUT=DP-1
DIR=/sys/kernel/debug/dri/0/$OUTPUT
b. The other way: use the evdi kernel module to add an output
In case you can't use an existing graphics port
# typically the evdi module must be installed first
sudo apt install -y evdi-dkms

# load the module, requesting a dummy device
sudo modprobe evdi initial_device_count=1

# find the new output
DIR=$(sudo find /sys/kernel/debug/dri/1/ -maxdepth 1 -name 'DVI*'|head -1)
2. Force activate the output
# override EDID (pretend to be a 1080P monitor with lots of resolution options)
EDID_BASE64=AP///////wAebdVZ+KEJAAQXAQNoNR546jMxpFdRoCYQUFSna4CzAIGAlQBxT6nAgQCBwJBAAjqAGHE4LUBYLEUACSUhAAAeAAAA/QA4Sx5TDwAKICAgICAgAAAA/AAyNEVOMzMKICAgICAgAAAA/wAzMDRORFBISksyODgKAJ8=
sudo bash -c "base64 -d <<<$EDID_BASE64 > $DIR/edid_override"

# force output on
sudo sh -c "echo on > $DIR/force"

# add an additional resolution to the dummy display (optional)
# check the xrandr output name, it may be different than the kernel name
xrandr|grep ' connected'
OUTPUT=DP-1
RES="1920 1200"
MODELINE=$(cvt $RES|awk '/Modeline/{print substr($0,10)}')
MODE=$(sed 's/^"\([^"]\+\).*/\1/' <<<$MODELINE)
sh -c "xrandr --newmode $MODELINE"
xrandr --addmode $OUTPUT $MODE

# Use the standard display configuration utility to configure the dummy display.
# Match the resolution of your device and position the display.
If the display fails to activate or 1920x1080 doesn't show up, then reboot and select a different output in step one.
3. Serve the dummy monitor with FreeRDP
sudo apt install -y freerdp2-shadow-x11
freerdp-shadow-cli -auth -may-interact /monitors:1
4. Connect FreeRDP client
sudo apt install -y freerdp2-x11
xfreerdp /v:YOUR_HOST_IP /cert-ignore /floatbar:sticky:off,show:always -gfx /rfx /f
Notes:
freerdp-shadow-cli is somewhat buggy in this setup, even the development version, but the settings here work well.
-may-interact is required for the cursor to show up on the client. Alternately the local cursor can be used on each device.
Disabling GFX is required for reliable operation, but we still have rfx
GFX works in the development version of the client, but no cursor
aFreeRDP works on android, but no cursor
wfreerdp works on windows, but no cursor
Does not work reliably with other RDP clients
In my testing, VNC is not a suitable replacement for FreeRDP in this setup--it's too slow.
Thank you to all of the FreeRDP developers for this awesome software.